Baked Pear and Banana Oatmeal

Free of dairy, treenuts, peanuts, soy, coconut, and gluten

This is a long overdue post because of all the craziness that’s been going on between midterms and the pandemic. But what is that saying: “the baking must go on” or something like that.

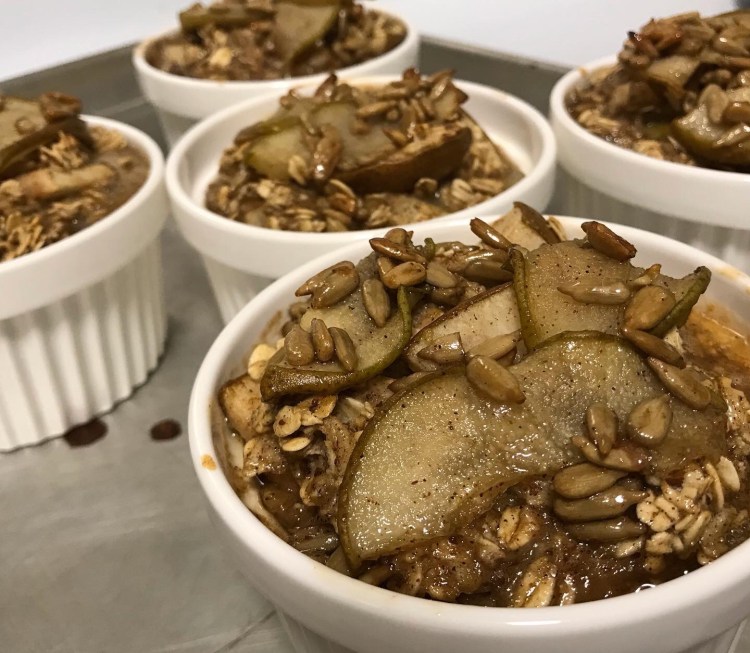
So without further ado, allow me to introduce you to my new obsession: Baked Pear and Banana Oatmeal! This stuff is really wicked good you guys.

I had some pears that I needed to use up and so I started looking into recipes online that use pears, and then I stumbled upon one for a baked oatmeal. I loved my pumpkin baked oatmeal, so I decided that I could take a mashed banana and some sliced pears and make up something similar.

So here it is!

Ingredients:

Oatmeal Mixture

Topping

  • 2 cups of rolled oats
  • 1/2 cup of mashed banana
  • 2 pears (save half for topping)
  • 2 large eggs
  • 2 tsp of cinnamon
  • 1/2 tsp of salt
  • 1/2 tsp of baking powder
  • 1 Tbs of ground flaxseed
  • 1 Tbs of brown sugar
  • 1 cup of flaxseed milk
  • 2 Tbs of melted margarine
  • 5 Tbs of maple syrup 
  • Remaining 1/2 of pear cut into slices
  • Cinnamon
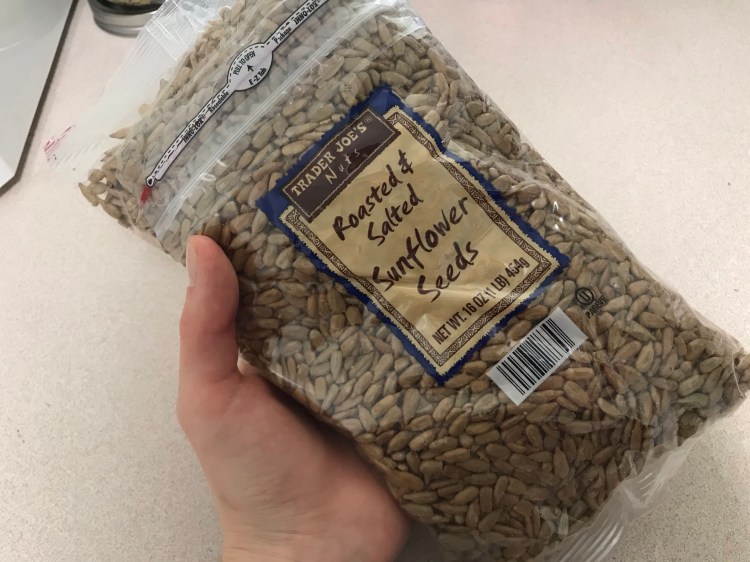
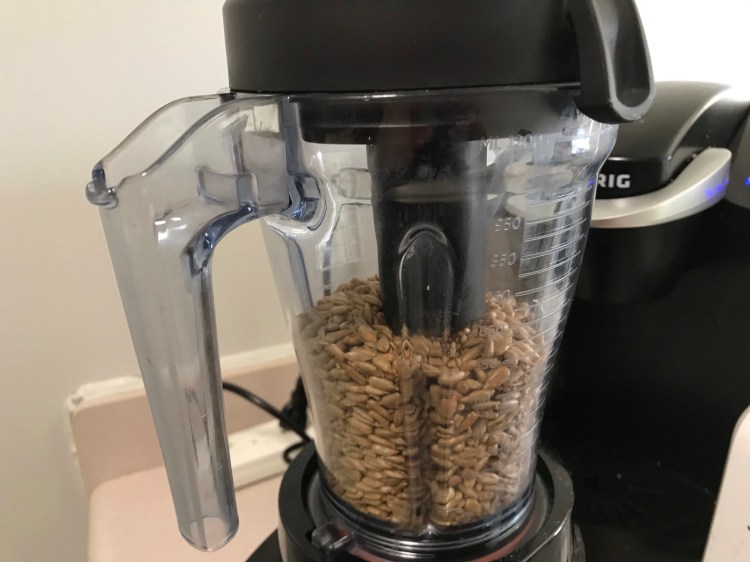
  • Handful of roasted sunflower seeds

Directions:

  1. Preheat oven to 375 degrees F
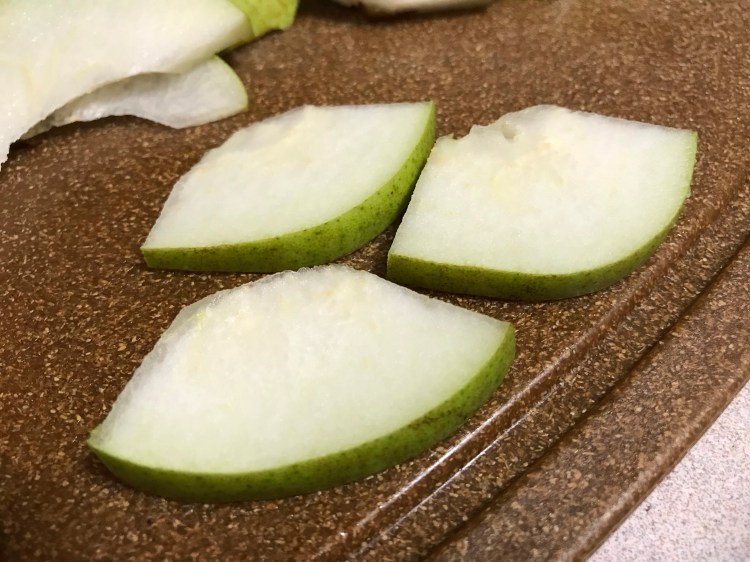
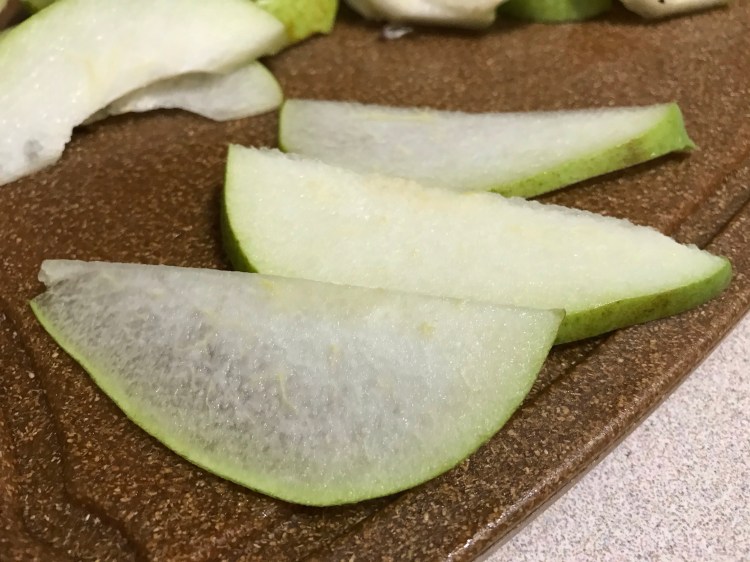
  2. Chop 1 and a half pears (skin on) into wedges. Then lay each wedge flat and slice them laterally (see first photo).
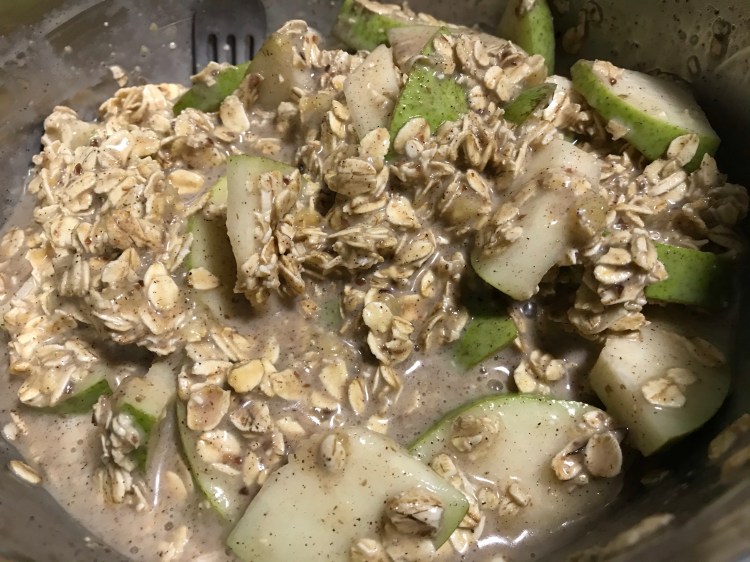
  3. Mix together dry ingredients (oats, baking powder, ground flaxseed, spices, brown sugar, and salt)
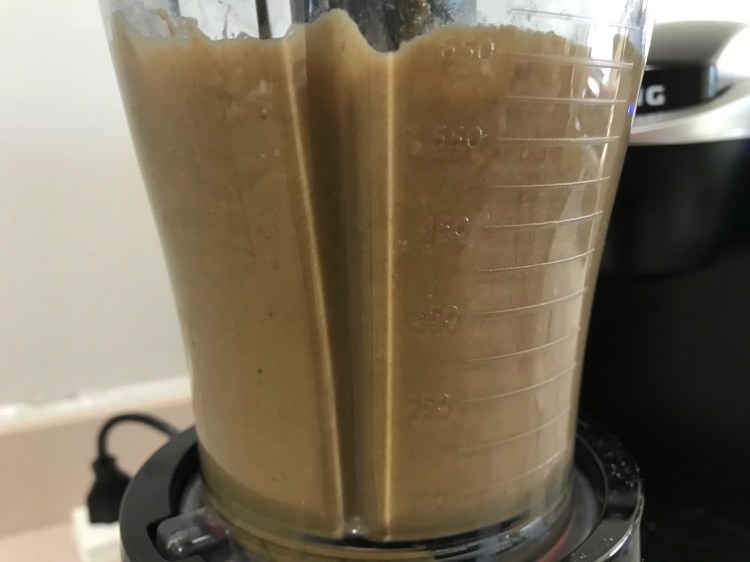
  4. Mix together wet (mashed banana, margarine, and milk) 
  5. Combine wet and dry ingredients together
  6. Fold in chopped pears

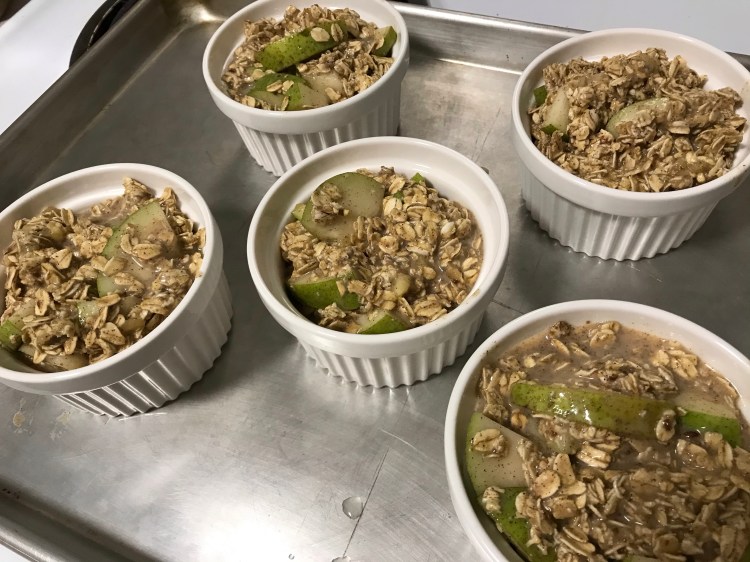
7. Pour the mixture into 5 8-oz ramekins
8. Slice the remaining half of the pear into wedges and then long slices (see second picture)
9. Bake in the oven at 375 for 10 minutes

Meanwhile, while that’s baking prepare the topping:

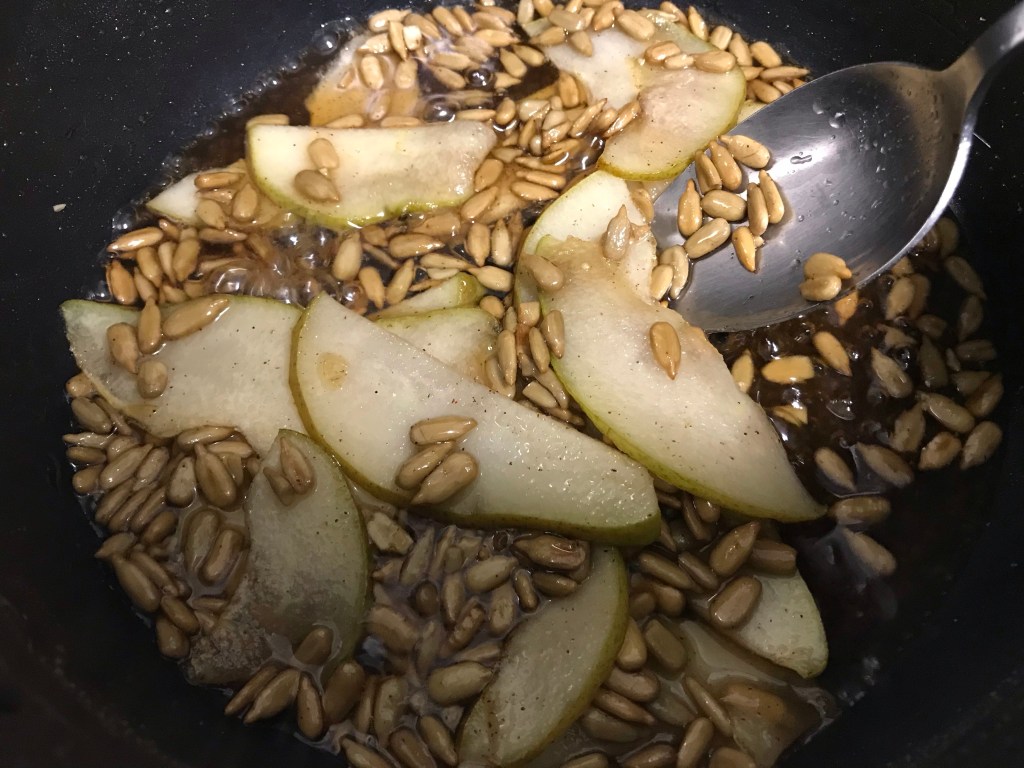
  1. In a saucepan over medium heat, combine maple syrup, cinnamon, sunflower seeds, and pear slices. 
  2. Cook while stirring occasionally until the 10 minutes for the oatmeal is up
  3. Pour the topping over the oatmeal, making sure each ramekin dish has at least two pear slices.
  4. Bake for another 15 minutes.

Make it larger!

If instead of making 5 small 8-oz ramekins you want to make it larger, you can do all the same steps but pour it into a 3-quart ceramic baking dish.

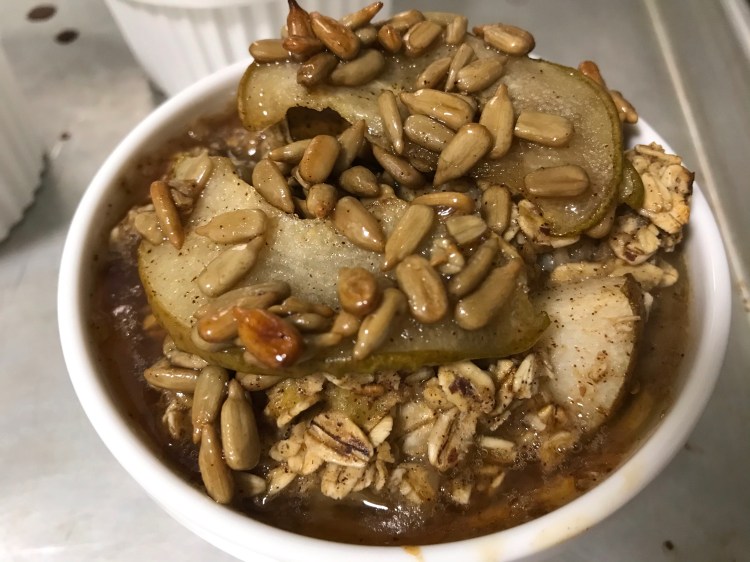
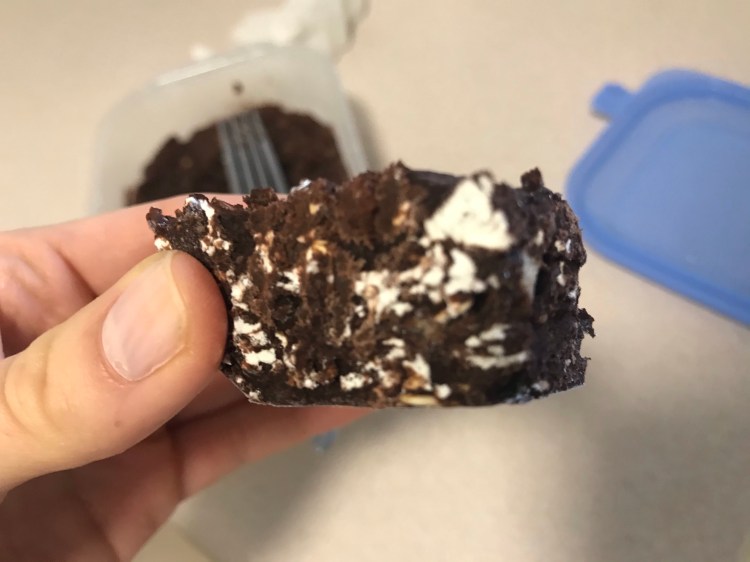
This baked oatmeal has the same perfectly sweet, yet salty – soft, yet crunchy – harmonious contrast. It’s so good. It is amazing fresh out of the oven when it’s nice and warm, or after chilling in the fridge for sometime. And it reheats perfectly. I also love topping with some vanilla ice cream (I used oatmilk ice cream because it is really good and you can never have too much oats).

Eat this for breakfast or a yummy dessert! Enjoy.

Protein Bites

Free of: Dairy, peanuts, treenuts, soy, eggs, and coconut

Don’t you love it when you have leftovers that you don’t know what to do with?

This happens to me all time where I make something in bulk and then either run out of one of the key ingredients I was eating with it or I just get tired of having it, but don’t want to waste what I already made.

I experienced this recently with my Chocolate Protein Spread because I was using it to recover with after a run by spreading it on my protein pancakes, but then I ran out of protein pancake and had nothing to spread it on. I could have just made a protein shake or something similar for after my workout, but I still felt like having the Spread and didn’t want to waste precious protein powder on something new when there was already so much of it in that Chocolate Protein Spread; you feel?

So, I did this!

Ingredients

Directions

  1. Mash the banana up with a fork
  2. Add the rest of the ingredients to the mashed banana and stir
  3. Spread it our flat in either a small bread loaf-pan or a small freezer-safe container (I used a rectangular Tupperware container that I have and it fit perfect).
  4. Place in freezer for about 2 hours (depends on thickness).
  5. After 2 hours, remove and cut into squares.

Ways to make it more fun:

  • Add in chocolate chips or Rice Crispies to the mixture for a really nice crunch in the bar when you eat it
  • Drizzle some sunbutter or melted chocolate over it halfway into freezing time
  • Mix some coconut shavings up with orange zest and a tiny-bit of orange oil (optional) and sprinkle that over the bars before serving.

National Peanut Butter Lover’s Day

It is March 1st, which means that it is National Peanut Butter Lover’s Day!

I know what you’re all thinking, “aren’t you allergic to peanut butter?” Correct! I am allergic to peanuts, and all nuts for that matter. I wanted to do a post on this holiday for all the peanut-free folks out there who have felt left out by the vast amount of recipes that call for peanut butter and people who gush over how great peanut butter is.

As a toast to National Peanut Butter Lover’s Day, I am sharing with you all my recipe for Homemade Sunbutter. Sunbutter is an excellent alternative to peanut butter, and I’ve heard from sources that it tastes extremely similar. It also works as a perfect substitute in recipes that may call for peanut butter.

I love putting sunbutter on my waffles and protein pancakes, or a spoonful in my oatmeal. Sometimes, I just eat it by itself during a moment of weakness. Whichever way you choose, I hope you enjoy celebrating National Peanut Butter Lover’s Day by trying some homemade sunbutter and getting to experience the hype of peanut butter that everyone has always talked about. Enjoy!

Homemade Sunbutter

I remember when I was a little girl in Elementary School, sitting at the allergy-free table all alone, and I would smell that strong scent of peanut butter as soon as one of my classmates, sitting at a table on the other side of the room, whipped out their fresh PB&J.

For the longest time, I would smell that scent and think it was worst smell in the universe. Something about it was just rancid, and I was glad that I was at a table far away from anyone eating something that beared the stench.

Maybe it was because I am allergic to peanuts, but for some reason, I just could not stand the smell of peanut butter. Now that I’m older and have been around it more, I don’t have the same disgust-reflex that I use to, although my allergy to peanuts still remains.

It’s unfortunate, because there are so many great recipes that involve peanut butter and ways to utilize it that I always would miss out on because of my allergy.

I have since found a great alternative to peanut butter, which is sunbutter! Unlike peanut butter, I LOVE sunbutter. I eat it by the spoonful sometimes, which is probably not great for me, but I do it anyways. I have been told by people who like peanut butter that sunbutter tastes almost identical to peanut butter, it’s just slightly more oily.

You can buy sunbutter in stores, for example Trader Joe’s has a great inexpensive brand (I like the unsweetened version), but I find that it tastes best and has the best consistency when it’s homemade. It’s also way cheaper to pay for a bag of sunflower seeds then it is to buy a jar of it.

Without further ado, here is my recipe for Homemade Sunbutter:

What You’ll Need

This is a 16 ounce bag of roasted and salted sunflower seed from Trader Joe’s for just $2.29. I haven’t found other brands that are as cheap and don’t have any cross-contamination allergen warnings. Whichever brand you choose though, the key is to get roasted and salted for the best flavor.

I’m using a Vitamix for my blender and it works fantastic, but it should be doable in other types of high-powered blenders, as long as you have some sort of a plunger to effectively grind it down.

Directions

  1. Pour about 3/4 the bag of sunflower seeds into the blender.
  2. Turn it on low, while stirring the seeds and pressing them down with the plunger.
  3. Slowly crank the blender up to high.
  4. Blend until most of the seeds are blended.
  1. Once the seeds are mostly blended, add in the rest of the bag.
  2. Continue to blend on high while pressing and stirring with the plunger.
    1. You will hear a different noise that sounds like the seeds are being strongly blended and they will begin to turn in the blender without you stirring once you get a good suction on the blender with your plunger.

Continue to blend until the seeds are all effectively ground (about 3-5 minutes).

I personally like it when my sunbutter has some underground seeds in it, so I stop blending earlier, but if you prefer smooth sunbutter, then closer to 5 or 7 minutes is probably ideal.

And viola! It’s all set. Remove the fresh sunbutter into a wide-mouth container and store for when you’re ready to use it. Fingers work great for cleaning off any sunbutter you can’t reach with a spatula, consider it your reward for a job well done.

Enjoy!

Protein Mug Cake

Ingredients:

  • 1 scoop of Biochem protein powder (any flavor) or Veg-Pro (any flavor)
  • 2 Tbs of Coco Powder unsweetened
  • 2 Tbs of Nesquik Chocolate Powder (if you don’t have Nesquik, then just 1 1/2 Tbs of sugar and an extra Tbs of Coco Powder will work as well!)
  • 1 tsp of baking powder
  • A splash of Flaxseed milk (or your dairy alternative), you can also use water.
    • You want just enough to wet the ingredients, but not make it liquidity.

Directions:

  • Mix all the dry ingredients in a mug or small ramekin.
  • Add the Flaxseed milk to the dry ingredients so that they are wet, but not liquidity.
  • Mix together
  • Microwave for 2-5 minutes, until it is cooked through, but the middle will still be a bit wet and that’s okay.

Mix it up!

You can also make a coffee flavored protein mug cake by using brewed coffee instead of water or dairy-free milk, and if you have a coffee flavored protein powder, then it’s even better. Another great way of mixing it up is adding in fun things like chocolate chips or whipped cream to your mug cake. Get creative! There’s so many ways that this mug cake can become your own creation.

Here’s a few links to different types of mug cakes:

Protein Pancakes

Ingredients:

  • 1 cup of rolled oats
  • 1 cup of Flaxseed milk (or dairy-free milk)
  • 1/2 cup of Biochem Protein Powder (vanilla)
  • 1/2 cup of fruit puree (either unsweetened apple sauce, mashed bananas, or pumpkin puree, depending on intended flavor)
  • 1 Tbs of ground flaxseed
  • 2 tsp of baking powder
  • 1 tsp of vanilla extract
  • 1/2 tsp of baking soda
  • 1 tsp of cinnamon
  • 1 pinch of salt
  • Blueberries, chocolate chips, or pumpkins for mix-ins/add-ons (optional)

Directions:

  • In a powerful blender, combine the oats, protein powder, cinnamon, baking powder, baking soda, and salt.
  • Blend on high until the flour mixture is thoroughly combined.
  • In a separate large bowl, combine the mashed banana/applesauce/pumpkin puree, milk alternative, vanilla extract, and ground flaxseed. Mix until smooth.
  • Add in the flour mixture to the bowl and whisk until thoroughly combined.
  • Heat up a pancake griddle or flat frying pan on the stove top over medium-high heat.
  • Add the pancake batter to the pan in evenly spread, smooth circles.
  • Let pancake cook each side for about 3-5 minutes, depending on how thick the batter is.
    • If you choose to add in blueberries or mix-ins, then add them to the pancake when it is first poured on the griddle before it has been flipped.
    • If the pancake batter becomes too thick or sticky during the cooking process (this happens sometimes because of the flaxseed, then add tiny amounts of water to the batter in order to loosen it up before going on the griddle)

National Protein Day

It’s February 27, which means that it is National Protein Day today! As a way to commemorate, I decided to compile some of my favorite high-protein recipes.

Whether you’re an athlete or just looking to incorporate more protein into your diet, these recipes are versatile and easy to make.

First things first: Protein Powder

The majority of these recipes use vegan protein powder as their main source of protein, so here are two types that I have tried and totally recommend:

Biochem Vegan Protein (Vanilla)
STEEL Veg-Pro (Snickerdoodle)

Biochem

Biochem is a great brand that offers a line of protein powders and supplements, to learn more about their products, click here. Their vegan protein powder is Keto friendly, organic, and contains no artificial colors, flavors or sweeteners. I use mainly their Vanilla flavor of protein powder, however they also have chocolate flavored vegan protein powder, as well as a line of plant-based protein powders.

Their vegan protein powder is also allergy-friendly! The only common allergen that their plant-based protein powder and vegan protein powder contain is coconut.

STEEL Veg-Pro

STEEL Supplements is also a great brand that has many products for athletes including pre-workout, recovery, and protein supplements. I am new to their brand, so I haven’t gotten a lot of use out of their pre-workout or recovery supplements (I don’t typically use pre-workout or recoveries for my workouts in general), but from what I’ve experienced and read so far I am happy with them. To learn more about their products, click here.

I have only tried their Snickerdoodle flavor of Veg-Pro (which is Non-GMO and FDA registered), but they recently came out with samples of their Veg-Pro and I am dying to try them. Other flavors include: Vanilla Cream Pie, Strawberry Cheesecake, Chocolate, and Peanut Butter. However, Snickerdoodle is wicked good.

All of their Veg-Pro products are free of dairy, soy, eggs, and gluten. MOST of them are all nut free as well, but the Peanut Butter flavor contains peanut flour (go figure ¯\_(ツ)_/¯ )

Protein Pancakes

Protein pancakes are my favorite protein recipe to make for either Sunday breakfast or for storing throughout the week, so I can whip them out and toast up for recovery after a run.

Since the recipe is fairly basic, it allows for the pancakes to be extremely versatile, so you can flavor them with whatever toppings or add-ins that you desire. The ones I usually make are banana protein pancakes with blueberries added in, but during the fall, I love to make pumpkin protein pancakes and top with caramelized pumpkin seeds (So, so good).

The main ingredients of the recipe are protein powder, banana/pumpkin/apple puree, dairy-free milk of choice, oats, and ground flaxseed. There are NO nuts, dairy, soy, gluten, or eggs!

Here is the recipe!

Protein Mug Cake

Mug cakes are so simple yet so delicious.

They are my go-to for a post workout recovery snack when I don’t feel like eating a ton, but want something quick and warm. They also make a great nighttime dessert when you want cake without all the sugar, calories, and preparation.

These are also versatile because their flavor is largely dependent on your type of protein powder or any add-ins you decide to put in. I typically make mine chocolate flavored by adding in Nesquik Powder and Unsweetened Coco Powder. However, I also stick to my Vanilla Biochem Protein Powder for this recipe so it has a strong flavor from that as well, which is still delicious.

Protein Mug Cakes are so easy to make, all you’ll need for ingredients are protein powder, baking powder, and either water or dairy-free milk.

Here is the recipe!

Protein Waffles

Okay, so these aren’t so much a recipe as they are just a type of frozen waffle that I absolutely LOVE. They are called Van’s Power Grains Frozen Waffles and they are wicked delicious, not to mention they have a good balance of protein and carbohydrate for a frozen waffle.

Each serving (2 waffles) has 10 grams of protein and they contain wholesome ingredients. These waffles are free of eggs, dairy, nuts, and soy protein (they do have soy lecithin).

I am obsessed with eating these every night, and especially on Bachelor Mondays. My favorite way to dress them up is with some homemade sunbutter, banana slices or blueberries, and a little bit of maple syrup. I find they especially taste best after you’ve given them a proper photoshoot, so make sure that they are looking presentable.

To find out more about Van’s Power Grains Frozen Waffles, click here!

Chocolate Protein Spread

Last but not least, I wanted re-share my Chocolate Protein Spread for National Protein Day because it can go great on top of any of these recipes (well, maybe not on top of the mug cake, but it’s possible).

My chocolate protein spread is black beans and protein powder based, so it is loaded with protein and is sure to take your protein pancakes or waffles to the next level.

Here is the recipe!

I hope you all enjoy celebrating your National Protein Day with these recipes, and if you aren’t into protein powders, then hey, just eat some meat. That’s pretty great protein too.

Roasted Chickpeas

Free of dairy, peanuts, treenuts, soy, coconut, avocado, and eggs

We’re in midterms right now at my school, so finding the time and energy to do meal prep has been difficult lately.

And yet, while I’m studying, it really helps to have something to snack on!

Here is a recipe for roasted chickpeas that take minimal energy to prepare (you can just pop them in the oven while studying) and they make a great healthy snack, or topping to your salad.

Ingredients

  • 2 cans of Chickpeas (Garbanzo Beans)
  • 2 Tbs of Olive Oil
  • Salt
  • Your choice of seasoning:
  • Cinnamon
  • Ginger
  • Nutmeg
  • All Spice
  • Sprinkle of brown sugar

  • Smoked Paprika
  • Garlic Powder
  • Cracked Pepper
  • Turmeric

  • Garlic Powder
  • Cracked Pepper
  • Curry Powder
  • Cayenne Pepper

Directions

  1. Preheat the oven to 425 degrees F and place a large cookie sheet inside.
  2. Drain both cans of chickpeas and rinse in a colander.
  3. In a separate bowl, mix together the Olive Oil, salt, and choice of seasoning. Stir.
  4. Add the chickpeas to the seasoning and gently coat with the seasoning.
  5. Take sheet out of oven (should be hot), and spread the chickpeas out on the hot sheet.
  6. Place in the oven.

Cooking Instructions

  • Cook in the oven at 425 for 45-60 minutes, stirring every 20 minutes.
  • After the first 45 or 60 minutes, reduce heat to 250 and let sit for another 25 minutes to crisp up. OR turn the oven on convection for the last 15 minutes at 350 to crisp up.

The key to making these chickpeas crispy is not storing them away in a container until they have sufficiently cooled off! Or else they will get soggy and they’re less delicious.

This is a recipe that takes a lot of time in the oven, but a minimum effort of actual cooking on your part, which makes a great study snack for midterms week. Just them remember to check on them every now and then to make sure they aren’t burning. Some batches can cook quicker than others depending on the ingredients you use, so it is better to be on alert than to risk wasting a whole batch of chickpeas.

Another great way to enjoy your roasted chickpeas is as a salad topper, kind of like a healthy crouton. I keep mine stored in a dry place, and then add them on top of my salads for lunch.

Check out this recipe for Kale Salad that utilizes roasted chickpeas!

Chocolate Protein Spread

Free of dairy, peanuts, treenuts, soy, eggs, and gluten

Okay, I want to talk about post-workout recovery food. I’m a runner and for a while I would come back from an 8 to 10 mile run and replenish with a salad that had some chicken on it. Not only was that mean to myself emotionally (because come on, after a long distance run, who is looking forward to a salad?), but I wasn’t providing my body with the proper nutrients it needed to assist with the protein building process.

My post recovery lacked both carb and a sufficient amount of protein, and eventually my body began to burn through my muscle mass for energy, which caused me to shed an unhealthy amount of weight. Not. Good.

I am lucky that I have my very-knowledgeable-almost-doctor and workout-guru sister, Jenna, who informed me that after my workouts, I have to be recovering with a higher glycemic load — more carbohydrate than protein. Even though vegetables are carbohydrate, they aren’t simple enough to consume after a workout without compromising your body’s ability to replenish its muscles. Also, they won’t provide enough calories. The salad also had a decent amount of fat in it from the dressing, and, as she informed me, fat also compromises your body’s muscle rebuilding process.

My challenge then became: what can I eat after a run that is quick and delicious, but lacks fat and contains enough protein. With my food allergies, peanut butter toast and most protein bars aren’t an option, and I didn’t always feel like mixing a banana smoothie each time. I wanted something spreadable to mirror peanut butter toast, but not use a fat to create that spreadable-consistency.

What I came up with was a black bean and protein powder based spread. Don’t let the word “bean” intimidate you, this stuff tastes just like chocolate and whatever brand of protein powder you use. Not to mention, it’s incredibly easy to make, and stores in your fridge for several weeks so you can always have it on hand.

Ingredients:

  • One can of black beans
  • 1/2 cup of protein powder
  • 3 Tbs of Unsweetened Coco Powder
  • 3 Tbs of Nesquik Chocolate Powder (can also be substituted for 1-2 Tbs of sugar and an extra Tbs of Unsweetened Coco Powder)
  • Splash of Unsweetened Flaxseed Milk + Protein (or your dairy free milk alternative)

Directions:

  1. Add all the ingredients in a blender and blend on high
  2. Add in a splash of Flaxseed Milk until desired consistency

Nutrition Fact Breakdown:

  • Calories: 765
  • Carbohydrate: 108 g
  • Fat: 9.3 g
  • Protein: 70 g

This is the breakdown for the ENTIRE recipe. It makes roughly half a quart, and I probably only consume a few tablespoons of it when I use it.

My favorite way to spread it is on a banana or onto a Whole Wheat English Muffin and topped with half a banana!

*Disclaimer: This is my understanding of nutrition based on my sister’s advice (who does a lot of research and is still pre-med in undergrad) and my own personal experience. I am not a licensed dietitian.*

Poached Salmon With Roasted Asparagus

Free of dairy, peanuts, treenuts, soy, avocado, gluten, and eggs

This meal is for sure one of my favorites. My dad would make this for dinner every now and then, and I definitely took it for-granted while living at home. Once I went to college, I realized how much I miss salmon and the staple meals that only he can recreate (even though they come out slightly different each time).

This salmon recipe is surprisingly easy, even though it tastes and looks like it involves a lot of preparation. I made this for dinner tonight, knowing that I had a busy week ahead of me, and couldn’t spend my whole Saturday prepping veggies!

This can be the perfect meal for dinner this week (especially because asparagus is on sale on the Whole Foods prime app) or something fancy to plan for Valentines Day coming up this Friday!

Alright, alright, alright, here are the deets:

Ingredients:

  • 1 lb of Atlantic Salmon Fillet (take skin off)
  • 1 bunch of Scallions
  • 1 bunch of Asparagus
  • Baslamic Vinegar
  • Red Wine Vinegar
  • Olive Oil
  • 1 clove of Garlic
  • Salt
  • Pepper
  • Dried Basil

Directions:

  1. Preheat the oven to 400 degrees F
  2. Rinse and cut the ends off of the asparagus, and then lay them flat on a cookie sheet.
  3. Smash and mince the garlic. Mix together balsamic vinegar, olive oil, the minced garlic, salt and pepper (enough to coat the asparagus with).
  4. Pour over asparagus and cook in oven for 30 minutes. Stir every 10-15 minutes.

While the asparagus is in the oven…

  1. Cut the scallions in thirds, diagonally.
  2. Put a skillet with a lid over medium-high heat, and pour in red wine vinegar and olive oil (enough to coat the bottom of pan).
  3. Add the scallions to the skillet.
  4. Remove the skin from the salmon fillet, and place skin-side-down on top of the scallions.
  5. Cover with lid, and cook for 15 minutes (or until salmon is fully cooked).

Tips:

  • Check if the salmon is fully cooked by cutting a piece in half and looking at the middle. If it is cooked, the inside should be a light-pink color.
  • Smash the garlic about 10 minutes before you add it to the balsamic vinegar mixture. This allows the garlic to breathe and brings out its micronutrients, which allows you to get more health benefits from adding it your meal.
  • Let the asparagus sit in the balsamic vinegar mixture 15-20 minutes before roasting them so that they soak up even more flavor.
  • If you have a convection oven, use the convection setting for roasting the asparagus to get them more crisp. However, check on them more frequently if you do this because they will cook faster.

I added broccoli to my meal tonight for more veggies and a fuller meal! Another great addition to salmon is some French Lentils seasoned with salt, pepper, and lime.

Enjoy!

Design a site like this with WordPress.com
Get started